Doomed
Registered
- Joined
- Jan 22, 2013
- Messages
- 559
- Reaction score
- 83
- Points
- 28

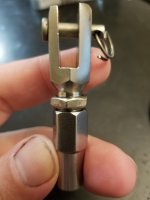
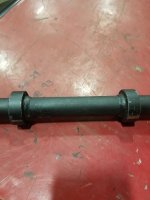
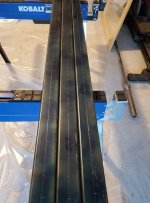
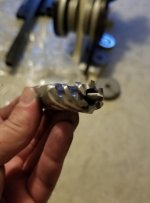
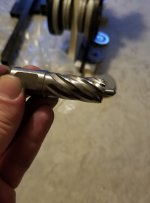
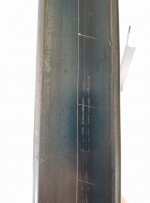
Little update, received my knurling attachment and used it last night at work. Love this thing. Only issue I had was the the dies dulled out after my eighth bar. So, now I am ordering another set of dies but this time hardened and hopefully that will workout. Plan on making a set of dumbbells from 5 pounds to 120 pounds.


")
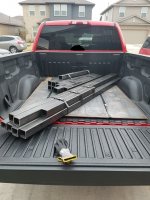


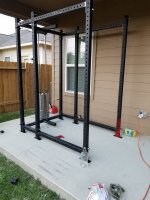
 Yard work and a heater.....